


Latest IN INTerior Design
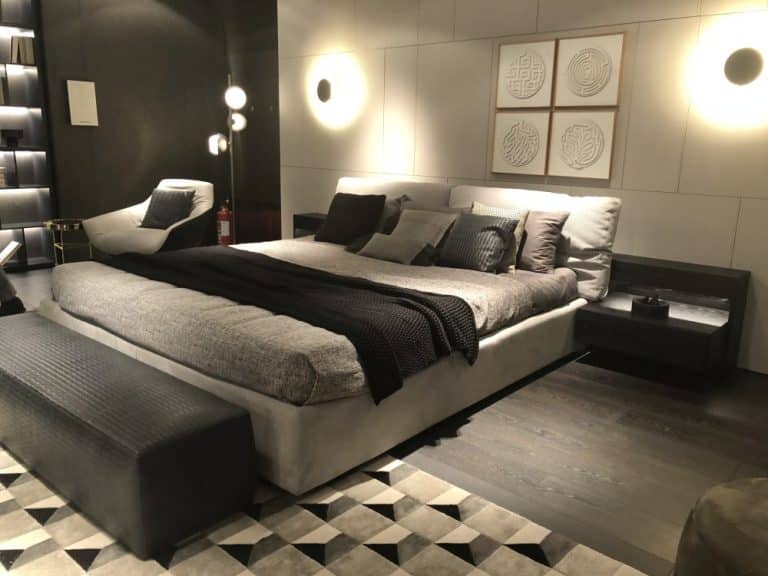
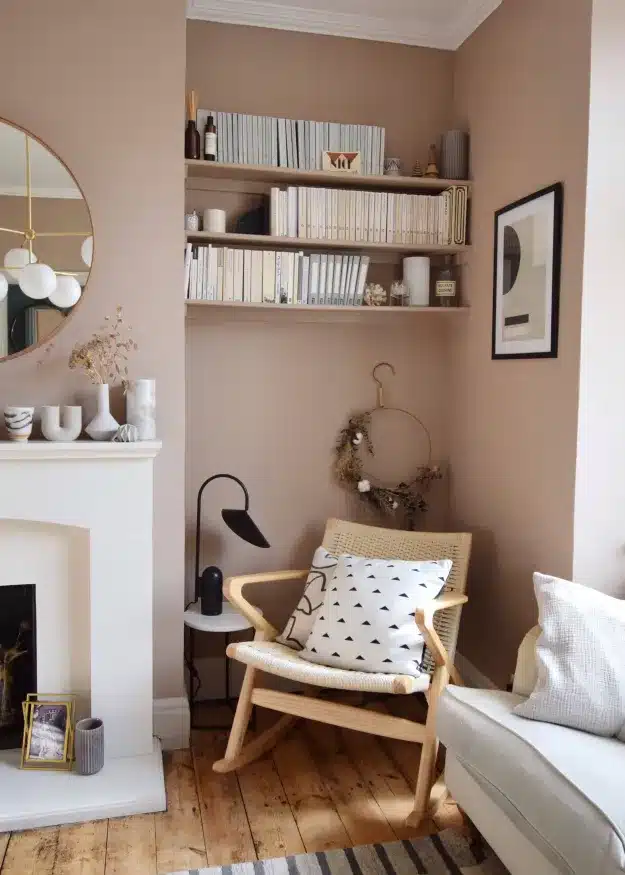
What is an Average Bedroom Size: Complete Guide
Are you curious about bedroom sizes? Well, we all spend a lot of time in our bedrooms while sleeping, daydreaming, and sometimes even snacking secretly. But what the average bedroom size is? It’s usually around 100 to 200 square feet. That’s big enough to fit a comfy bed, a dresser for all your clothes, and…
More posts from this category


Latest IN Gardening
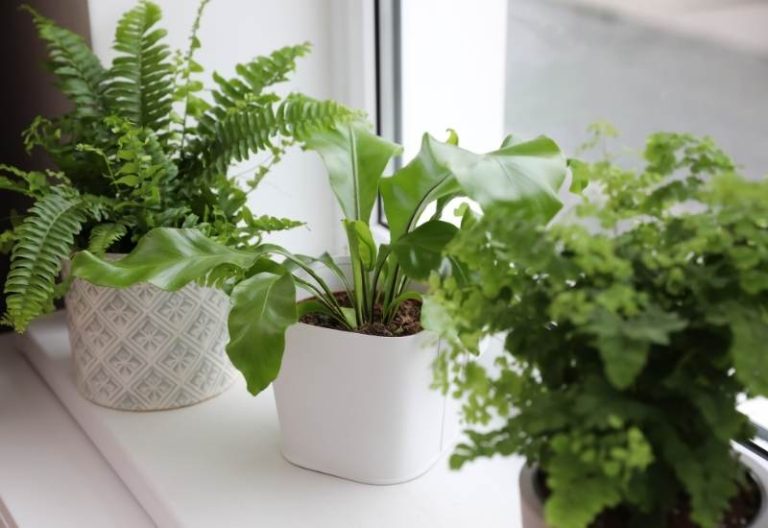
30 Exclusive Fern Types to Enhance Your Garden
Walking through woods makes many people wonder about the different types of ferns and find it hard to identify those different ferns. Many ferns have been explained in this; it will be easy for anyone to understand the special feature…
More posts from this category
Latest from the Blog

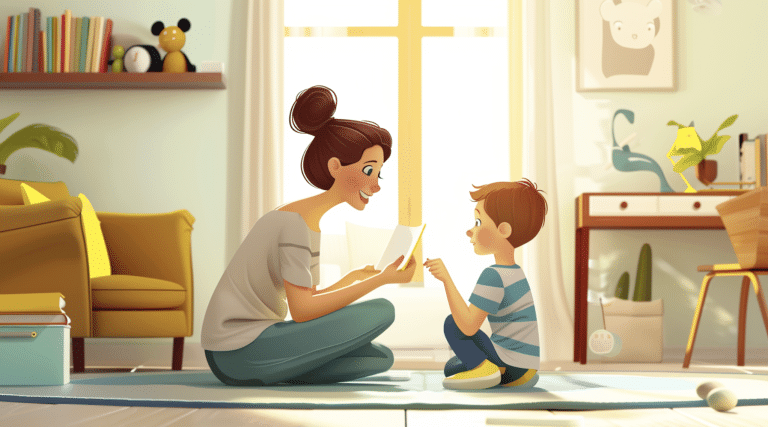
17 Fun Activities for Kids Starting with F
As a parent or caregiver, you know that keeping kids engaged and entertained can be challenging. You…

14 Must-Have Stylish Clothing Items That Start with S
Have you ever found yourself struggling to put together a fashionable outfit? You’re not alone. Many people…

15 Mouthwatering Recipes to Try Beginning with The Letter ‘A’
Picture this: you’re hosting a dinner party and want to impress your guests with a delectable spread….

20 Alluring Destinations: Travel Guide to Places That Start with ‘A’
Have you ever wondered what fascinating destinations await you at the beginning of the alphabet? From the…

The Importance of Teaching Long ‘O’ Words in Early Education
Are you an early childhood educator looking for effective ways to teach long ‘O’ words to your…
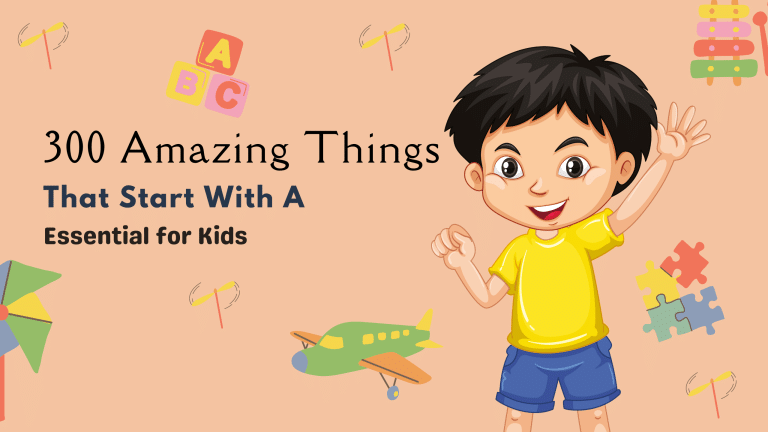
300 Amazing Things That Start With A: Essential for Kids
Attention, parents, and teachers! Are you looking for a fun way to help kids learn their ABCs…
more on the blog
How can We help you?
Personalized Advice
Need help with your room? Tell us about your space, style, and challenges. We will offer personalized tips to create your dream home.
Curated Resources
Explore our articles, tutorials, and reviews for inspiration and guidance on your next home decor project, from colors to furniture.
Community Suppor
Connect with fellow decor lovers in our community. Share experiences, ask questions, and showcase your projects for feedback and support.